Let’s start off by saying you’re a real champ! You’ve probably downloaded our Paper Max 1 template and now you’re trying to figure out how to build it. No worries, it might seem like a tedious job – but it’s quite easy actually. We are in no way or shape professional paper model builders, so if we can make it, you can too! As we want to spark creativity within our community, we feel humbled by the fact that you downloaded our template and found your way to this tutorial. This tutorial will show you step by step how to make the Paper Max 1. If you still struggle with the kit, feel free to shoot us a message on Instagram. Alright, let’s dig in!
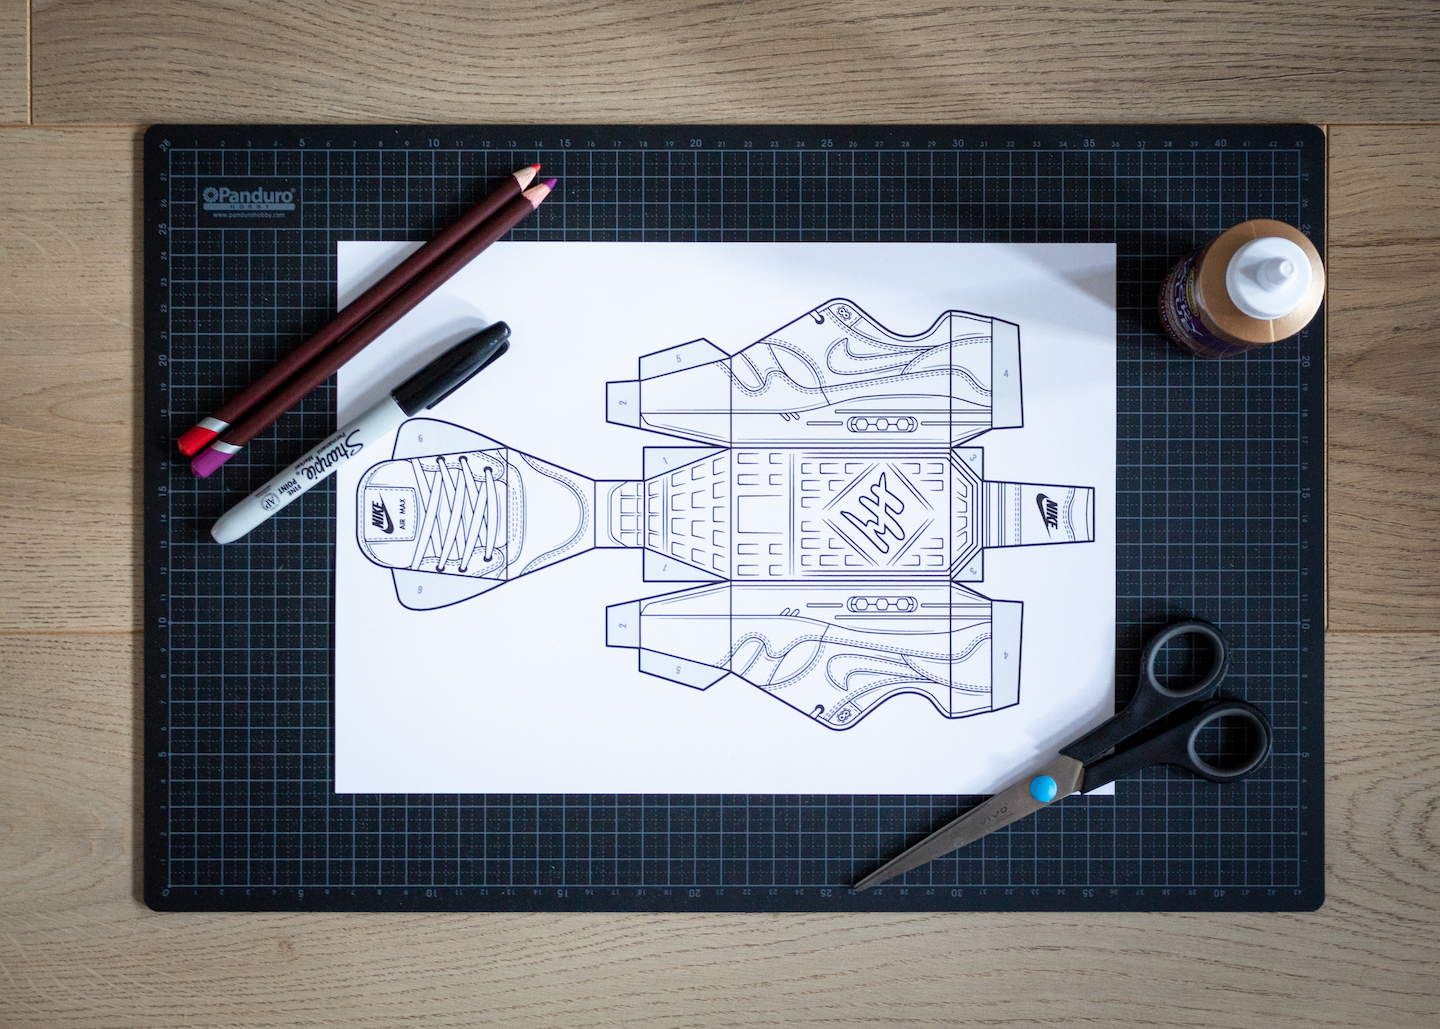
Step 1: Gather all materials
To make the Paper Max 1, you need to gather a couple of things:
- A printed Paper Max 1 template (download it here);
- Coloring pencils, markers, and/or other decorating materials (tape, glitters, stickers);
- Scissors or a (paper) knife;
- Glue or a glue stick.
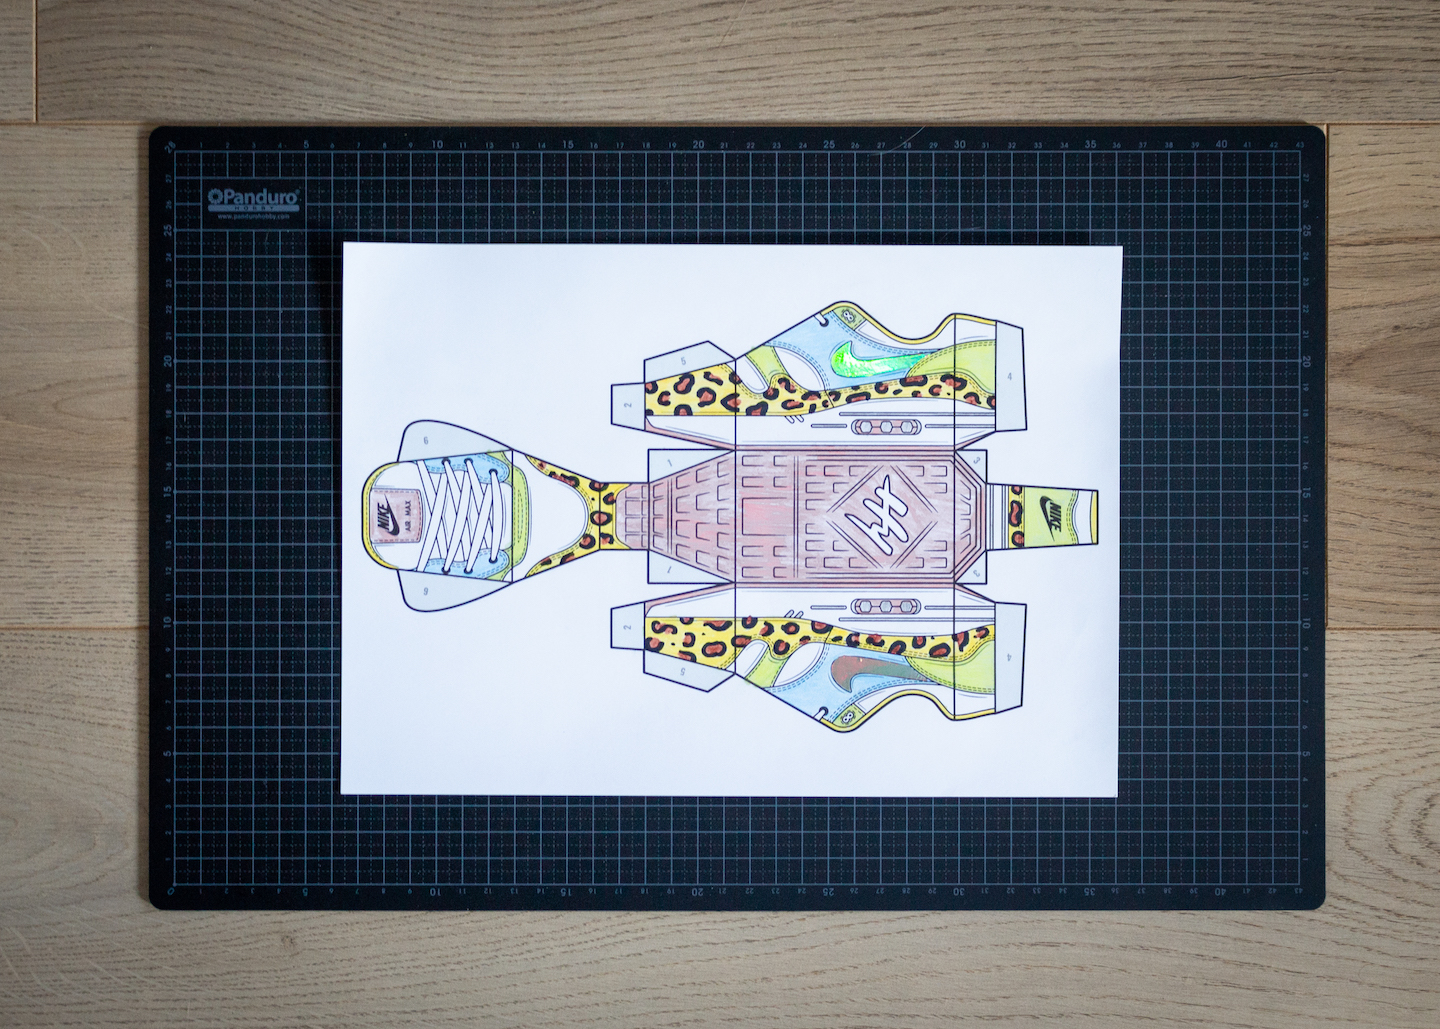
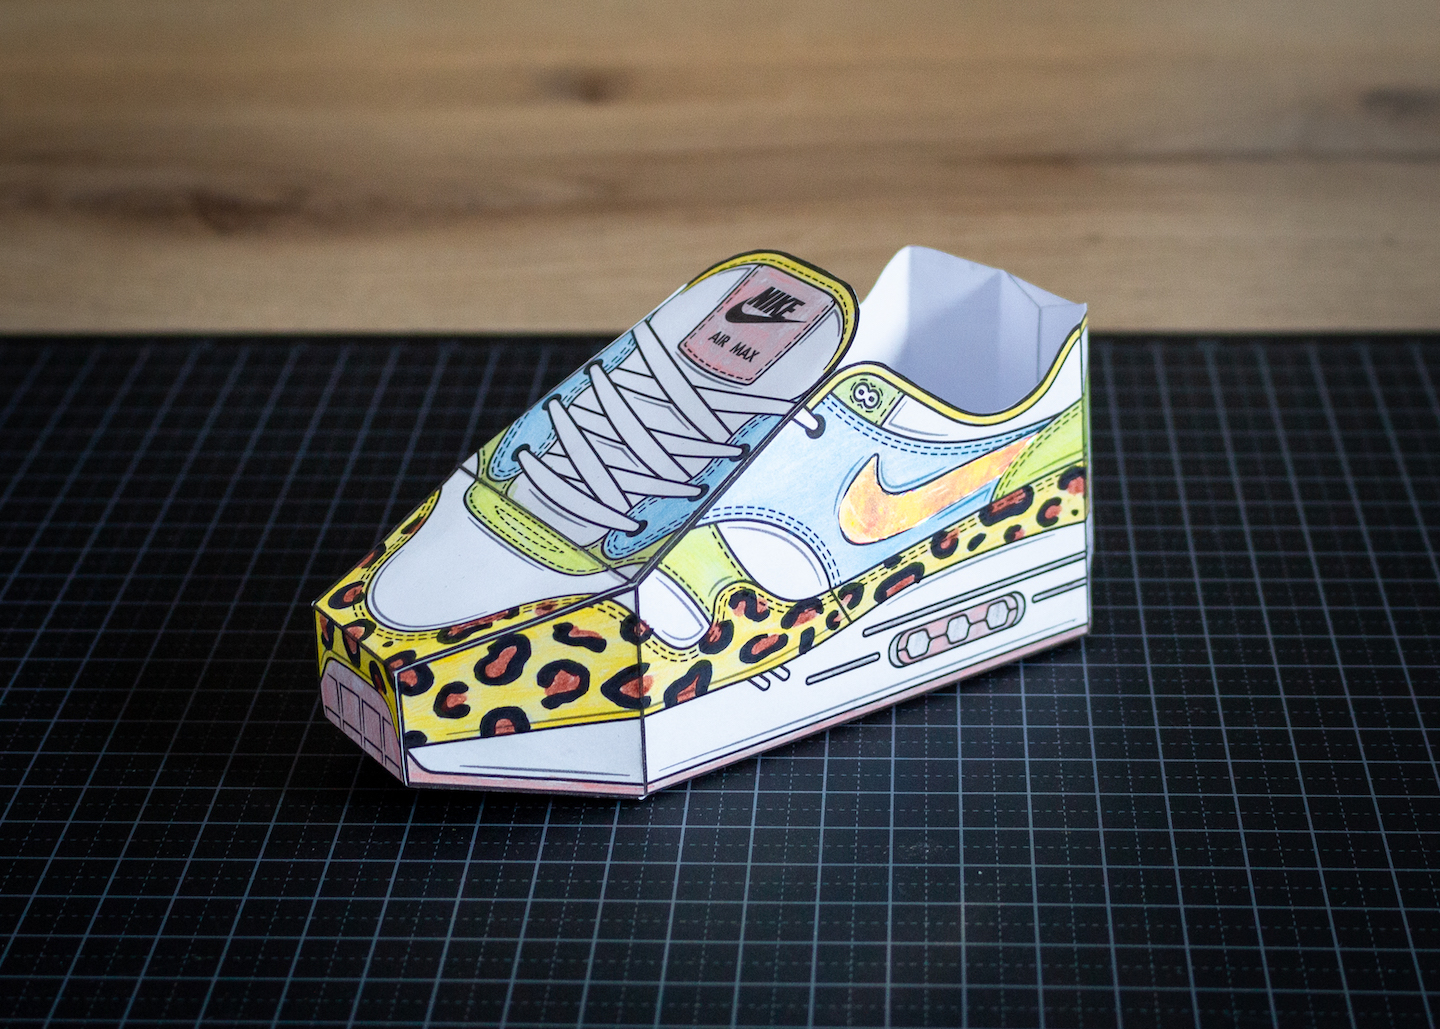
Step 2: Jazz up your Paper Max 1
The next step towards having your own little 3D sneaker art piece is to color the template. This might seem like the easiest step, but it can be a little tricky. You have to double-check whether you are coloring the right parts. Or in other words: when you put it together, do all the parts line up in 3D? If you’re not sure, skip this entire step and put together a blank template right away.
Anyways, use your creativity to personalize your own Paper Max 1. You can try to recreate your favorite colorway or you can make a whole new one! You can use a sharpie to add new details or add glitters to make it shiny! This is totally up to you, this is your creation. Once you’re satisfied with your piece, you can proceed to the next step.
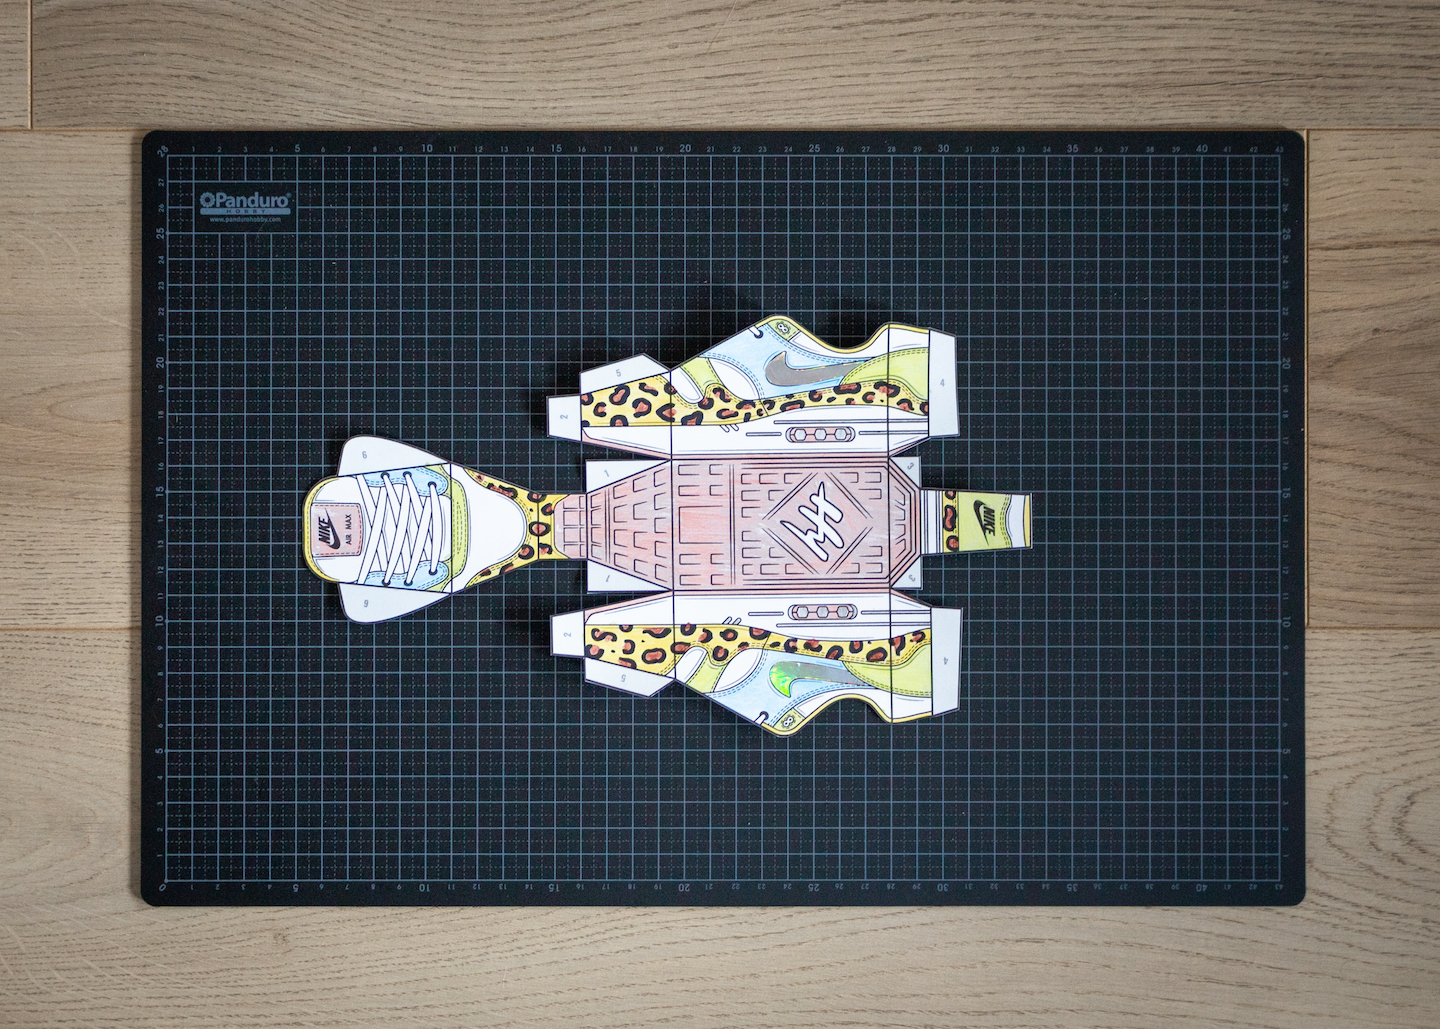
Step 3: Cutting
Now it’s time to cut the template. You only have to cut around the edges and we’ve tried to make it as simple as possible. If you’re not sure what lines to cut, feel free to have a look at this image, where we highlighted the cutting lines. Be careful when using scissors or a knife, we don’t want anyone to get hurt!
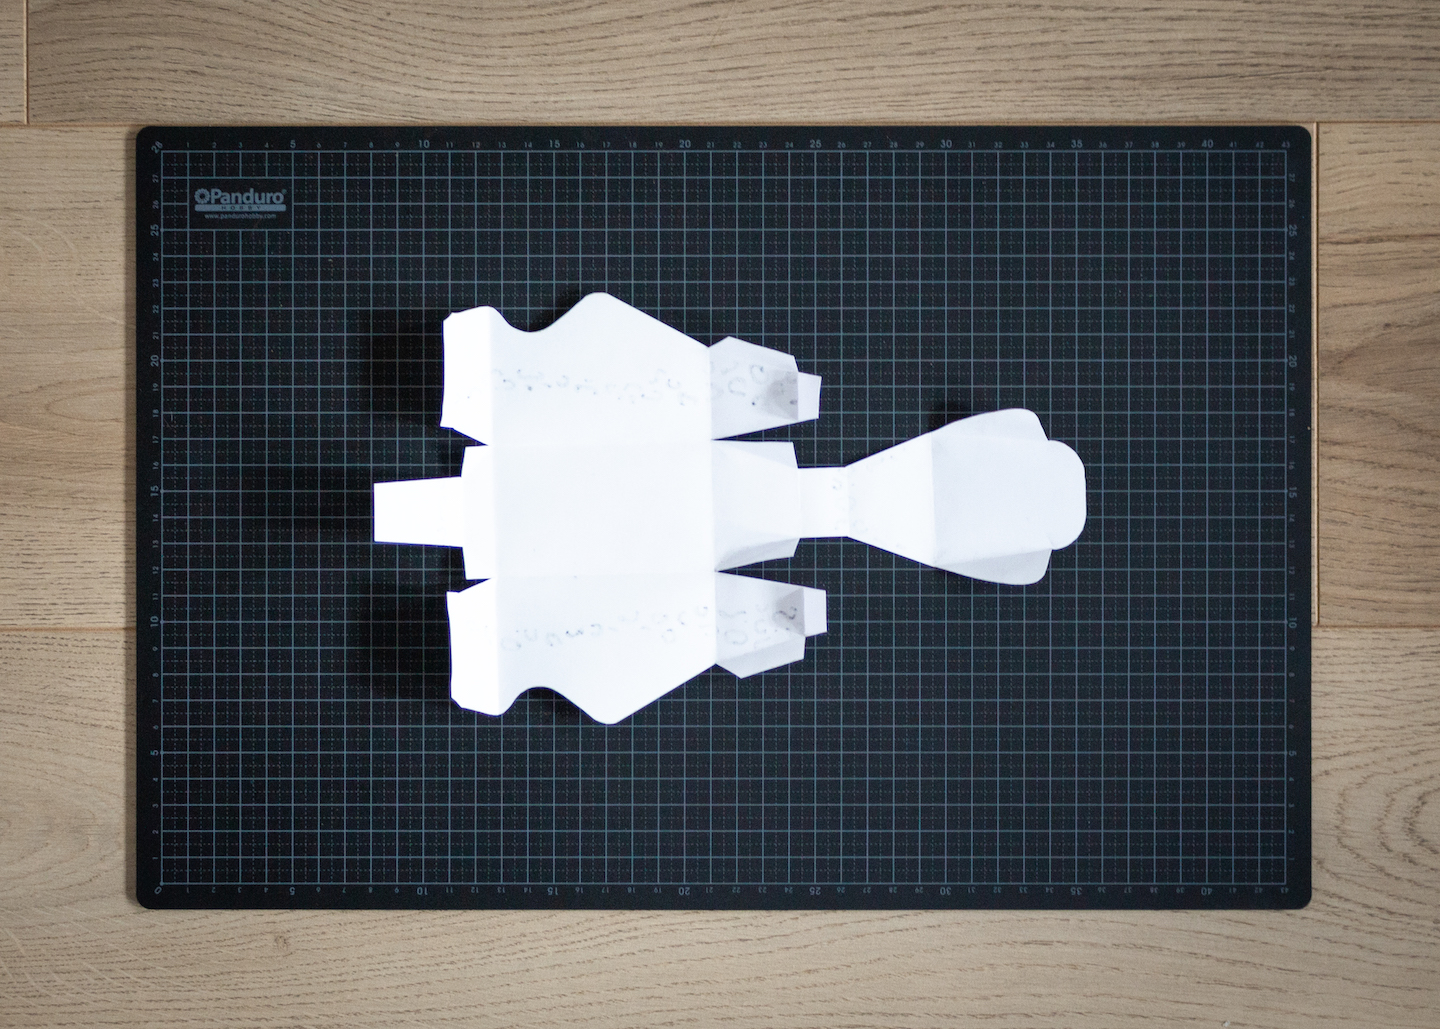
Step 4: Folding
The next step is to fold all the folding lines towards the inside. The folding lines might be hard to spot, but there are 24 in total. For your ease, we’ve created this image that highlights all the folding lines. Make sure to fold all the lines at once, as it becomes harder to fold when you start gluing the model together.
Step 5: Gluing and putting it together
The final step is here! You came a long way, so don’t give up just yet. We have numbered all the glue planes, and again, we created this image to show you which planes to glue. Stating the obvious, we recommend gluing the planes in chronological order. Make sure to cover the whole plane with glue, but don’t overdo it! You don’t want to see glue residue on the outside. Ones you’ve glued everything together, you’re done!
You see? That wasn’t too difficult, right? Now enjoy your own creation or build another one!
Step 6: Share your creation and win prizes
We are very very very curious to see what you’ve created. So please, share your creation with us! Do you want to compete for a prize? Share your creation on your Instagram story and/or feed (tag @hyprints and use #hyprints), to take part in our community challenge!